
Your first splat
This walk-through makes a splat of one object with SplatPilot’s automatic settings. It takes a few clicks; the computer does the rest.
Make the splat
Section titled “Make the splat”-
Open your scene in Blender 5.3 and select the object you want. The default subject is Selection, so every selected object that renders becomes part of the splat. The views show only those objects; the rest of the scene still lights them (Subject Only).
-
In the 3D Viewport, press N to open the sidebar and click the SplatPilot tab. If the Create Splat panel at the top says “Nothing selected”, select the object first.
-
For a quick first result, open the Quality menu in the Setup panel and choose Draft. (The default is Standard, which looks better and takes longer.)
-
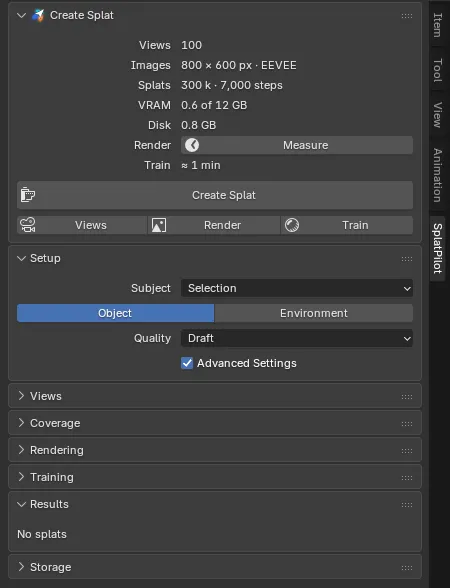
Read the estimate at the top of the Create Splat panel: how many Views SplatPilot will render, the size of the Images and the render engine, the Splats and training steps, the VRAM and Disk space it needs, and the Train time. Click Measure in the Render row once: SplatPilot renders two views to time them; the Render row then gives the render time and a Time row the total.
-
If Check Before Rendering (n) shows under the estimate, open it: it lists what in the scene is worth a decision before the views render, such as mirror-like materials, each with its fix.
-
Click Create Splat.
Watch it work
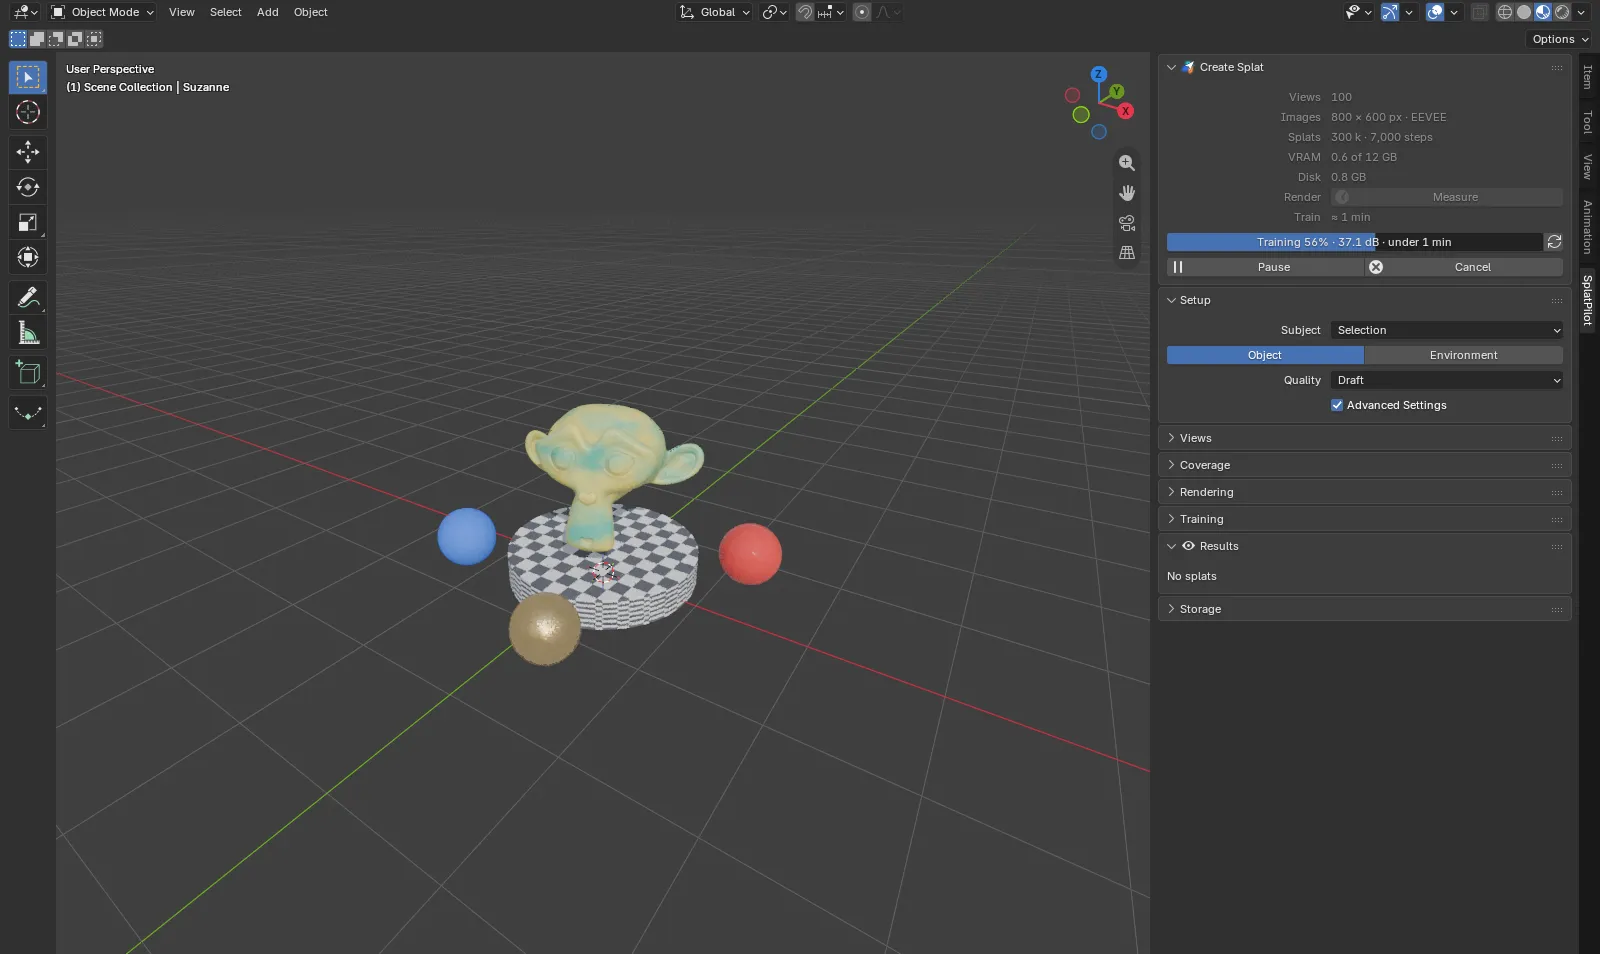
Section titled “Watch it work”The panel shows how far it got. First it renders the views in a background copy of Blender (“Rendering” with the views done and the time left; a line below gives the time left in all), then it trains (“Training” with the share of steps done, the score so far in dB and the time left). Blender’s status bar shows the progress in short too, with a Cancel button.
While it trains, a preview of the splat appears in the viewport as <name> (training) and
refreshes every 15 seconds. The refresh button at the end of the progress bar shows the splat as it
is right now. Pause stops and keeps everything for Resume; Cancel ends the run and
discards the training’s splat.
The finished splat
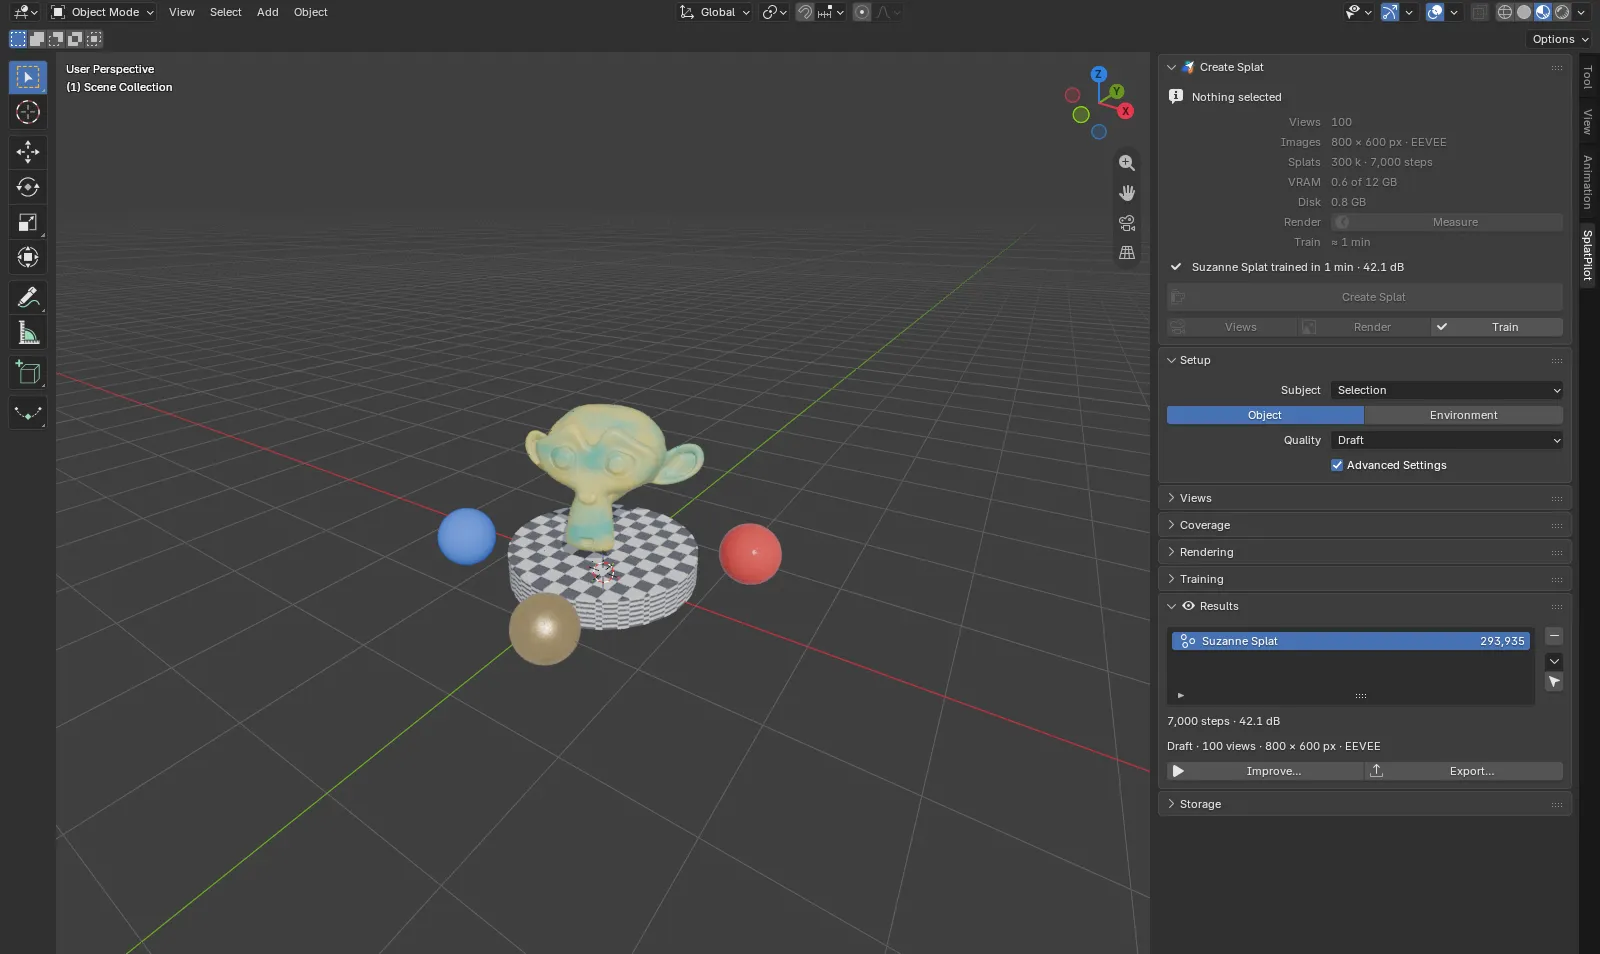
Section titled “The finished splat”When training ends, the finished splat replaces the preview in a new Splats collection. It is
named after the active object, for example Suzanne Splat, and the panel’s status line sums it
up, such as “Suzanne Splat trained in under 1 min · 42.2 dB”. The line stays until you change a
setting; Blender’s Info log keeps it. The Results panel lists it
with its splat count and shows below the list its training steps, its score in dB and its recipe,
such as “Draft · 100 views · 800 × 600 px · EEVEE”. A higher score is better. Compare it between
runs of the same views; it is not comparable between scenes. Views, Render and Train
below the Create Splat button now show check marks: each step is done for the current settings.
You can keep working the whole time. SplatPilot leaves your scene’s settings, selection and viewports as they were. A splat or preview that arrives while you are dragging something waits until you let go, a few seconds at most.
- Ctrl+Z after the splat arrives removes it; Ctrl+Shift+Z brings it back.
- To compare the splat with the scene underneath, click the eye in the Results panel’s header: it hides the Splats collection.
What next
Section titled “What next”- Make it sharper. In the Results panel, click Improve…: with Add Views (on by default) it renders more views and trains the splat on with all of them. That is the best way to improve a splat. A higher quality also helps. See Results and Quality and presets.
- Train it longer. In the same dialog, untick Add Views: More Steps trains it on with its own views.
- Use it elsewhere. Export… in the Results panel saves it as PLY or SOG. See Results.
- Splat a room. Put the scene camera inside the room, select it all (or choose Subject: Scene) and click the Environment tab: SplatPilot then plans views from where a person would stand. See Views.
- Use your own cameras. In the Views panel, switch Source to Cameras or build a rig: see Views and Rigs and targets.
- Learn what happened. How it works explains each step.